![]()
Hỗ trợ mua hàng : 02436.231.170 or 0984.058.846
Tư vấn kỹ thuật Raspberry Pi và RS232/RS485 to Ethernet : 0862.628.846
Tư vấn kỹ thuật Module khác : 0866.828.846 or 0862.998.846
VUI LÒNG LIÊN HỆ ĐỂ ĐƯỢC HỖ TRỢ KỸ THUẬT VÀ ĐẶT HÀNG TRỰC TIẾP
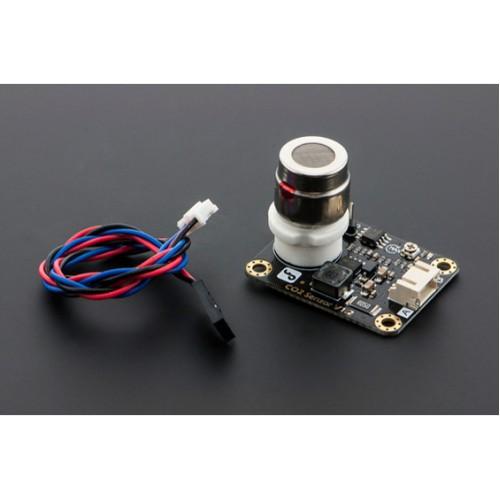
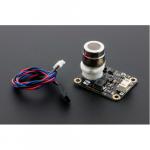
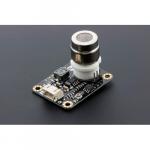
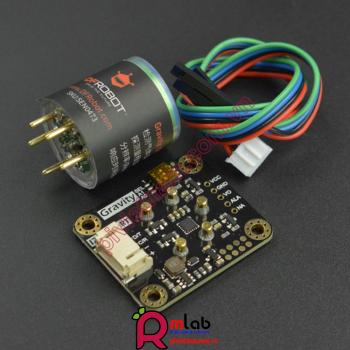
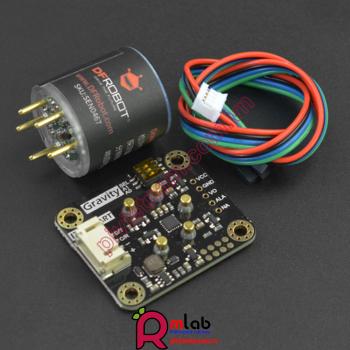
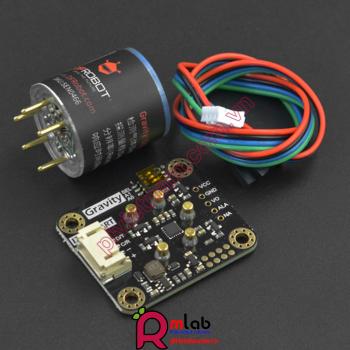
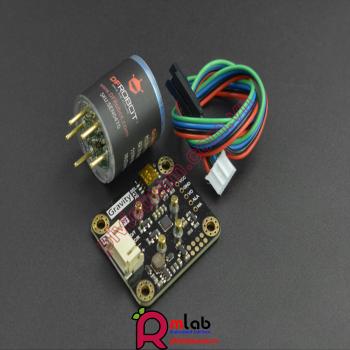
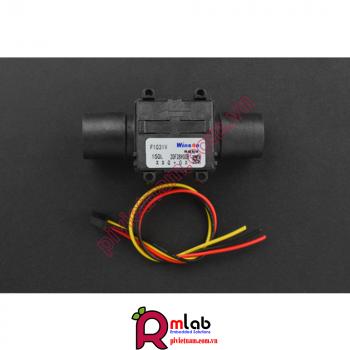
Cảm biến khí CO2 tương tự dành cho Arduino-DFRobot
Từ 2022 MLAB có thêm website mlab.com.vn với nền tảng web mới hơn, dễ sử dụng hơn cho quý khách hàng tra cứu, đặt hàng online tại MLAB. Quý khách hàng có thể mua Cảm biến khí CO2 tương tự dành cho Arduino tại MLAB tại link: (link đặt hàng)
"Hiệu ứng nhà kính" đang làm tan chảy các tảng băng trôi mỗi phút. Bằng cách biết chính xác nồng độ CO2, chúng ta có thể làm gì đó để giảm mức CO2 của khí quyển và bảo vệ trái đất của chúng ta. Vì lý do đó, chúng tôi đã thiết kế cảm biến CO2 chất lượng cao. Đây là cảm biến CO2 đầu tiên trên thị trường phần cứng mã nguồn mở. Điện áp đầu ra của mô-đun giảm khi nồng độ CO2 tăng. Máy đo chiết áp được thiết kế để đặt ngưỡng điện áp. Khi nồng độ CO2 đủ cao (điện áp thấp hơn ngưỡng), tín hiệu số (BẬT / TẮT) sẽ được khởi động.
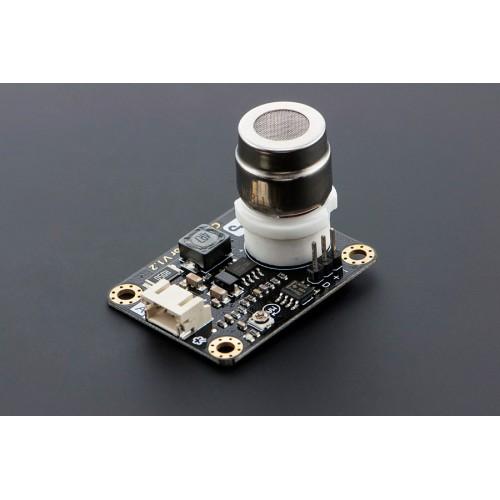
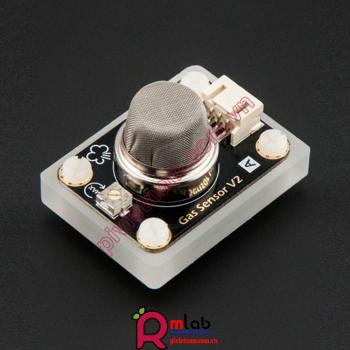
Nó có cảm biến khí MG-811 trên tàu rất nhạy cảm với CO2 và ít nhạy cảm với rượu và CO, độ ẩm thấp và phụ thuộc nhiệt độ. Tất cả các thành phần đều có chất lượng công nghiệp đảm bảo độ ổn định và khả năng tái sản xuất.
Mạch sưởi ấm trên bo mạch mang lại nhiệt độ tốt nhất cho cảm biến hoạt động. Đầu vào nguồn 5V sẽ được tăng lên 6V để sưởi ấm.
Cảm biến này có một mạch điều hòa trên bo mạch để khuếch đại tín hiệu đầu ra.
Chú ý
- Cần có nguồn điện bên ngoài (7 ~ 12V) để cung cấp cho bảng vi điều khiển khi bạn sử dụng mô-đun cảm biến CO2 này.
- Mô-đun này là một cảm biến điện hóa, bạn cần hiệu chỉnh nó trước khi đo thực tế.
THÔNG SỐ KỸ THUẬT
- Điện áp hoạt động: 5V
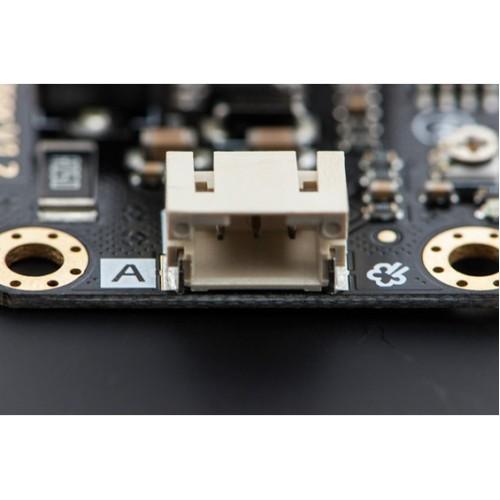
- Giao diện: Analog (Tương thích trọng lực)
- Một đầu ra kỹ thuật số
- Đầu nối chất lượng cao
- Bề mặt vàng ngâm
- Mạch sưởi ấm trên tàu
- Kích thước: 32x42mm (1.26x1,65 ")
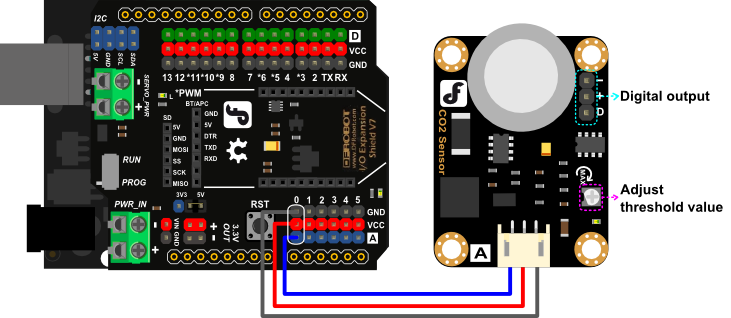
SƠ ĐỒ KẾT NỐI

HIỆU CHUẨN
Mô-đun này là cảm biến điện hóa, bạn nên hiệu chỉnh nó trước khi đo thực tế. Bạn nên cung cấp nguồn ổn định cho mô-đun này và cảm biến sẽ nóng lên trong khi làm việc. Vui lòng đặt mô-đun này vào khu vực có không khí sạch. 48 giờ, bạn có thể đo điện áp đầu ra của mô-đun này. Sau đó sửa đổi độ lệch trong mã với giá trị điện áp (đơn vị: V) chia cho 8,5.
#define ZERO_POINT_VOLTAGE (voltage/8.5)
Ví dụ: điện áp bạn đo được từ mô-đun là 2,4V, sau đó 2,4 / 8,5 = 0,282. Vì vậy, hãy sửa đổi độ lệch như sau:
#define ZERO_POINT_VOLTAGE (0.282)
Sau khi sửa đổi, tải Code mẫu lên bảng Arduino của bạn.
Code mẫu
/*******************Demo for MG-811 Gas Sensor Module V1.1*****************************
Author:  Tiequan Shao: tiequan.shao@sandboxelectronics.com
         Peng Wei:     peng.wei@sandboxelectronics.com

Lisence: Attribution-NonCommercial-ShareAlike 3.0 Unported (CC BY-NC-SA 3.0)

Note:    This piece of source code is supposed to be used as a demostration ONLY. More
         sophisticated calibration is required for industrial field application.

                                                    Sandbox Electronics    2012-05-31
************************************************************************************/

/************************Hardware Related Macros************************************/
#define         MG_PIN                       (A0)     //define which analog input channel you are going to use
#define         BOOL_PIN                     (2)
#define         DC_GAIN                      (8.5)   //define the DC gain of amplifier

/***********************Software Related Macros************************************/
#define         READ_SAMPLE_INTERVAL         (50)    //define how many samples you are going to take in normal operation
#define         READ_SAMPLE_TIMES            (5)     //define the time interval(in milisecond) between each samples in
                                                     //normal operation

/**********************Application Related Macros**********************************/
//These two values differ from sensor to sensor. user should derermine this value.
#define         ZERO_POINT_VOLTAGE           (0.220) //define the output of the sensor in volts when the concentration of CO2 is 400PPM
#define         REACTION_VOLTGAE             (0.030) //define the voltage drop of the sensor when move the sensor from air into 1000ppm CO2

/*****************************Globals***********************************************/
float           CO2Curve[3]  =  {2.602,ZERO_POINT_VOLTAGE,(REACTION_VOLTGAE/(2.602-3))};
                                                     //two points are taken from the curve.
                                                     //with these two points, a line is formed which is
                                                     //"approximately equivalent" to the original curve.
                                                     //data format:{ x, y, slope}; point1: (lg400, 0.324), point2: (lg4000, 0.280)
                                                     //slope = ( reaction voltage ) / (log400 –log1000)

void setup()
{
    Serial.begin(9600);                              //UART setup, baudrate = 9600bps
    pinMode(BOOL_PIN, INPUT);                        //set pin to input
    digitalWrite(BOOL_PIN, HIGH);                    //turn on pullup resistors

   Serial.print("MG-811 Demostration\n");
}

void loop()
{
    int percentage;
    float volts;

    volts = MGRead(MG_PIN);
    Serial.print( "SEN0159:" );
    Serial.print(volts);
    Serial.print( "V           " );

    percentage = MGGetPercentage(volts,CO2Curve);
    Serial.print("CO2:");
    if (percentage == -1) {
        Serial.print( "<400" );
    } else {
        Serial.print(percentage);
    }

    Serial.print( "ppm" );
    Serial.print("\n");

    if (digitalRead(BOOL_PIN) ){
        Serial.print( "=====BOOL is HIGH======" );
    } else {
        Serial.print( "=====BOOL is LOW======" );
    }

    Serial.print("\n");

    delay(500);
}

/*****************************  MGRead *********************************************
Input:   mg_pin - analog channel
Output:  output of SEN-000007
Remarks: This function reads the output of SEN-000007
************************************************************************************/
float MGRead(int mg_pin)
{
    int i;
    float v=0;

    for (i=0;i<READ_SAMPLE_TIMES;i++) {
        v += analogRead(mg_pin);
        delay(READ_SAMPLE_INTERVAL);
    }
    v = (v/READ_SAMPLE_TIMES) *5/1024 ;
    return v;
}

/*****************************  MQGetPercentage **********************************
Input:   volts   - SEN-000007 output measured in volts
         pcurve  - pointer to the curve of the target gas
Output:  ppm of the target gas
Remarks: By using the slope and a point of the line. The x(logarithmic value of ppm)
         of the line could be derived if y(MG-811 output) is provided. As it is a
         logarithmic coordinate, power of 10 is used to convert the result to non-logarithmic
         value.
************************************************************************************/
int  MGGetPercentage(float volts, float *pcurve)
{
   if ((volts/DC_GAIN )>=ZERO_POINT_VOLTAGE) {
      return -1;
   } else {
      return pow(10, ((volts/DC_GAIN)-pcurve[1])/pcurve[2]+pcurve[0]);
   }
}
 AI Computer
  Phụ kiện cho Pi
  Module cho Raspberry Pi